
Remote Participation Setup
What is Remote Participation?
Remote Participation allows a student to access in-person content from a remote location. While Western Washington University will primarily offer in-person instruction, remote participation (RP) may be approved as a reasonable accommodation if a student’s disability means that they're unable to participate in person.
Remote Participation is not intended to convert an in-person program into an all-virtual experience. DAC recognizes the potential for differential experiences of students engaging remotely in courses designed to be taught in-person. This means that technical difficulties and other factors will impact the educational experience. Remote Participation isn't a 1:1 replacement for in-person classes.
Applying for Remote Participation: Students
More information on the Remote Participation Application process can be found here.
Preparing for Remote Participants
Remote participation allows students with qualifying accommodations to virtually attend in-person classes at Western. Through a video conferencing platform, such as Zoom or Microsoft Teams, the student is able to connect remotely with video, audio, and chat functions.
Using Zoom or Microsoft Teams, instructors have the ability to screen-share projected materials and PowerPoints.
Simultaneously, faculty are able to stream a live video feed of the classroom using a device such as a Meeting Owl, webcam, or Pan-Tilt-Zoom Camera. For larger classrooms, an external or lapel microphone may also be beneficial. ATUS provides a detailed list of the equipment available in each classroom on campus.
When necessary, a DAC staff member may be available to assist with operation of the necessary equipment. To request assistance, email DRSFrontDesk@wwu.edu.
First, make sure your Zoom account is linked to your Office 365 account so you can schedule recurring meetings.
- Log into your Zoom account via the Zoom website.
- Under the “Personal” tab on the left, click on “Profile.”
- Scroll to the bottom of the page and look for the Calendar and Contacts integration under the “Others” section. Give Zoom permission to access your Office 365 Calendar. You may need to be logged into your Western email for this to work.
Next, adjust your meeting settings. These settings will apply to all the meetings you create.
- While logged into the Zoom website, click “Settings” under the “Personal” tab on the left of the page. Check that you’re in the “Meeting” settings, the leftmost tab running horizontally across the page.
- Under the Security section, disable the Waiting Room option so that, as the host, you don’t need to allow participants into the meeting manually.
- Under the Schedule Meeting section, enable the setting to “Allow participants to join before the host.”
- Under “In Meeting,” enabling Private Chat (if it isn’t on by default) could be useful so that the student can alert you to audio/video issues or other problems while avoiding a chat popup that could potentially appear for any other meeting participants. More importantly, under “Who can share,” you’ll want to make sure “All Participants” is checked.
Third, schedule your recurring meeting.
- Under the Personal tab on the left, click Meetings. Click the Schedule a Meeting button on the far left of the page.
- In the “Topic” text field, include the name of the class. Under “Time Zone,” check the box for “Recurring meeting.” In the dropdown box for Recurrence, select “No Fixed Time.”
- Under the Security tab, uncheck the “Waiting Room” box.
- Under Meeting Options, check “Allow participants to join anytime.”
- Save your meeting and copy the invitation.
Finally, email the invite and meeting ID/password for your new meeting to the student.
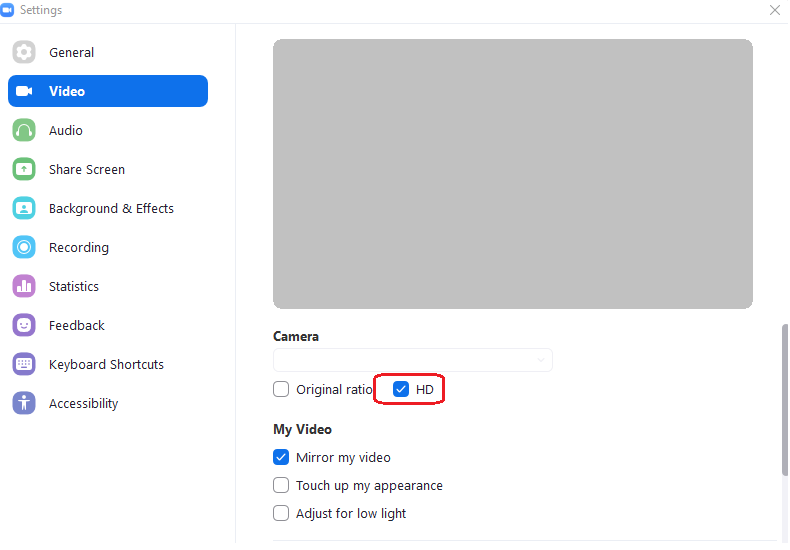
Enable HD video by opening the settings menu by clicking the arrow (^) in the upper right corner of the start/stop video button. Under the camera preview, check the box for HD.
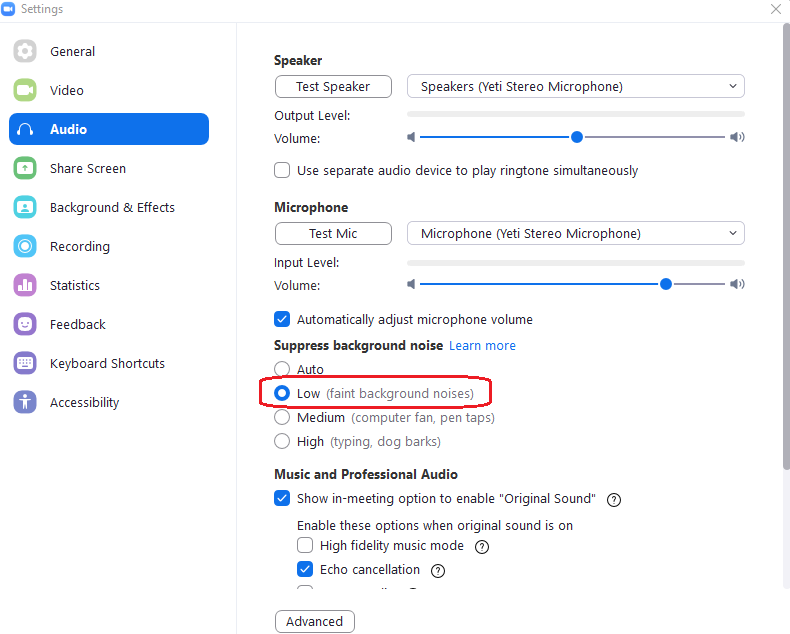
Next, you may want to adjust your noise suppression settings. Zoom’s built-in noise suppression can make it more difficult for remote students to hear when people far from the classroom’s microphone are speaking. Try setting “Suppress background noise” to “low.”
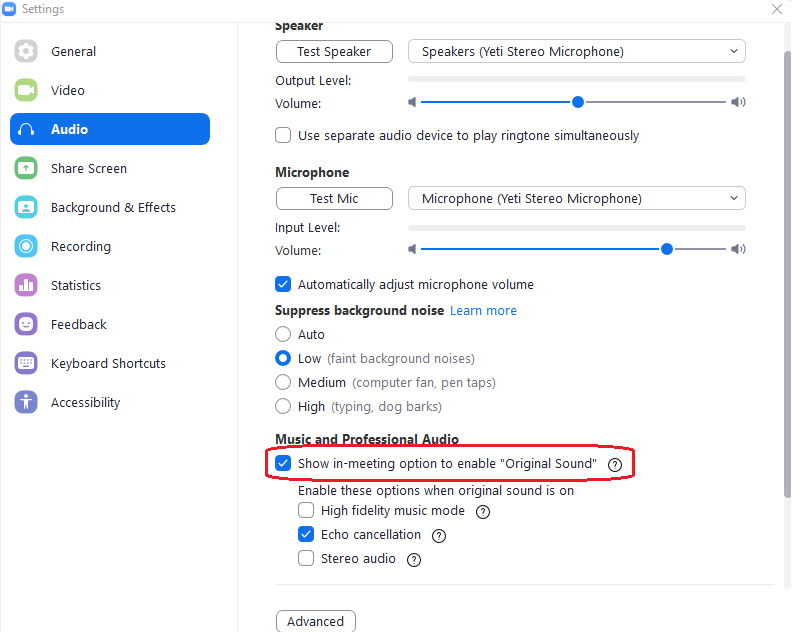
For completely unaltered sound and the best detection of far-away voices, check the box for ‘Show in-meeting option to enable “Original Sound.”’
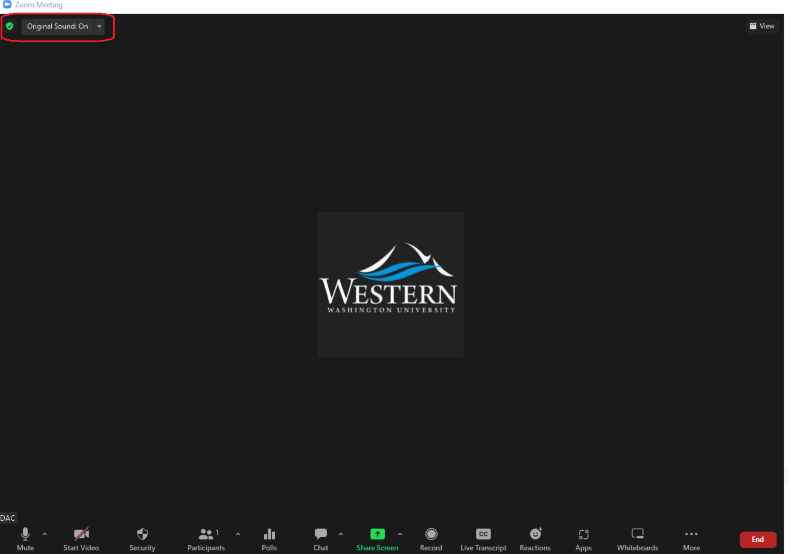
With that option enabled, a toggle will appear in the top-left corner of Zoom meetings that you host allowing you to enable or disable Original Sound.
If you’re sharing material via a projector or monitor with in-person students, sharing your screen with remote participants is critical to their ability to follow along with the content you’re presenting. Zoom gives hosts the option of sharing individual windows, or an entire display.
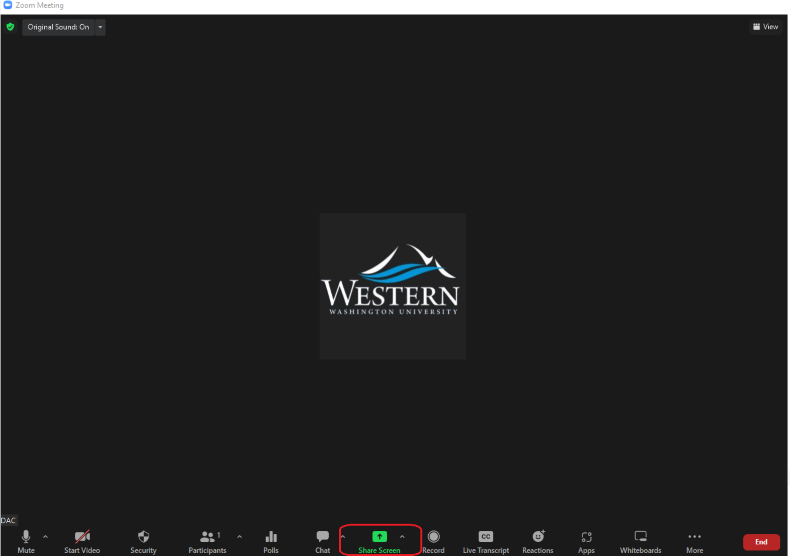
Sharing a display is the best option if you want to just “set it and forget it,” meaning once you start the screen share, remote students will be able to see anything on your monitor without further adjustment. However, you’ll need to disable the share or use a second display if you want to open or view content privately.
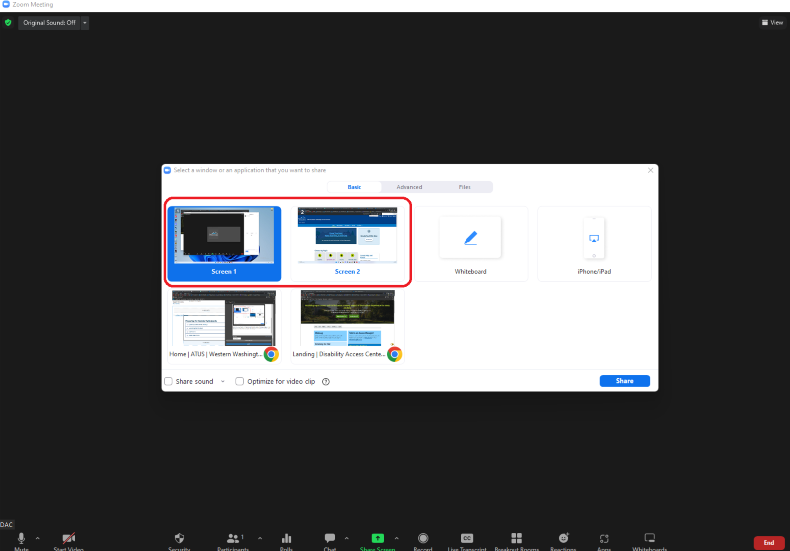
Alternatively, select the option to share a single window, and toggle between windows as needed. If you intend to share video or audio with the class, remember to check the boxes at the bottom of this screen share windows for “Share sound” and “Optimize for video clip.”
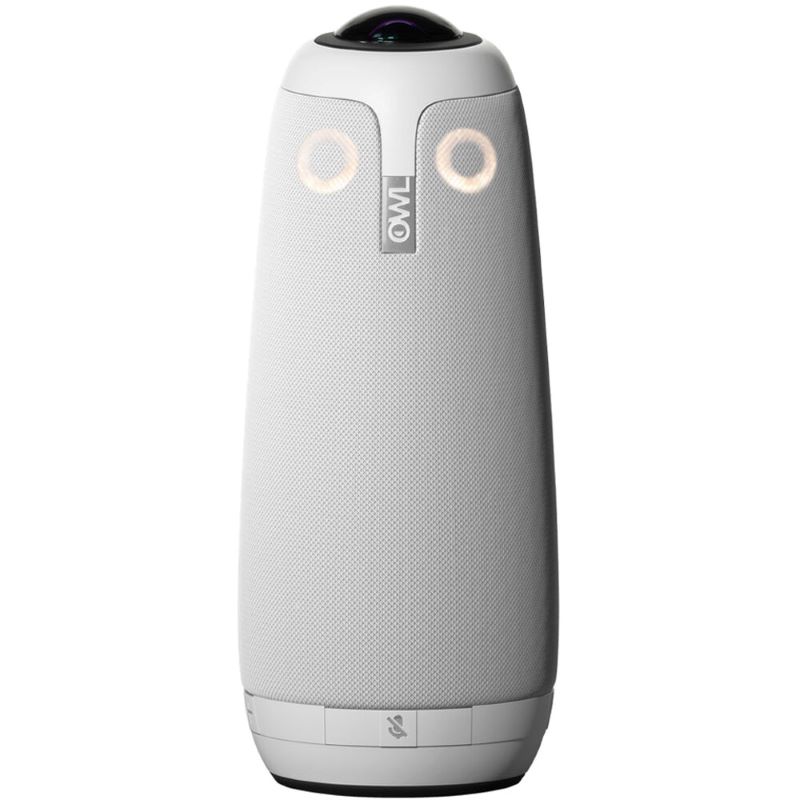
The Meeting Owl is a single device that combines an omnidirectional microphone, 360 degree camera, and a speaker. If your classroom is already equipped with one, setup is as simple as enabling the camera and microphone through Zoom. Owls are ideal for smaller classrooms, but often aren't sufficient at times when students need a clear view of a whiteboard.
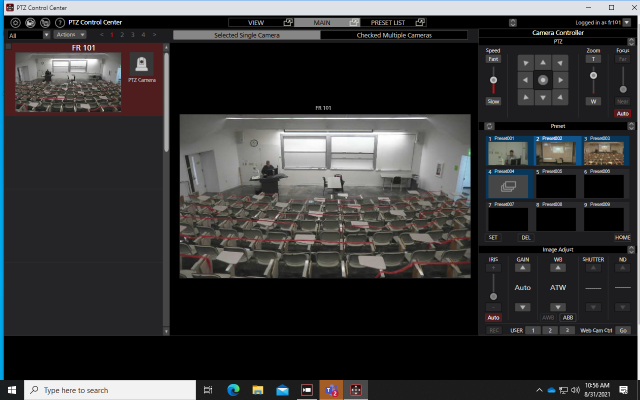
Some of Western’s largest General University Classrooms are equipped with a Pan-Tilt-Zoom video camera mounted in the back of the room. These cameras are controlled from the classroom computer using a software called PTZ control center. These cameras should be used in conjunction with a lapel or external mic to provide a high-quality audio source for remote students.
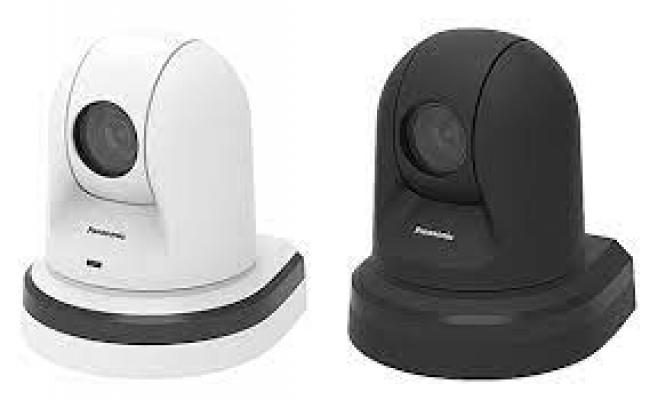
Through the PTZ control center, the user can choose from preset scenes, select specific areas of focus, or freely control the cameras direction and level of zoom. This video feed can then be selected as a source through Zoom or Teams.
For more information on remote facilitating remote participation, consider some of the following resources:
- Online Technologies for Remote Teaching from ATUS
- The Teaching and Learning Co-op Flexible Modality Toolkit
- Flexible Teaching Resources from ATUS
While the Americans with Disability Act (ADA) ensures that public institutions, including WWU, are legally obligated to provide students any modification or adjustment to the academic environment that will enable a qualified student with a disability to participate, such modification must not fundamentally alter the nature of its service, program, or activity. (ADA Title II Technical Assistance Manual).
Faculty have a right to identify instances of their course objectives being fundamentally altered by accommodations and may deny accommodations after engagement in a deliberative process with the DAC. To begin the interactive process, contact Dr. Josef Mogharreban, DAC Director and Deputy ADA Coordinator.